

Last Updated on: 7th June 2026, 04:21 pm
Your hosting control panel looks like a dashboard designed for engineers, not website owners. You click the wrong thing, nothing works, and you’re not sure why. This manage hosting settings tutorial exists for exactly that moment. Getting a handle on your hosting settings is one of the most direct ways to improve your site’s speed, stability, and security, yet most beginners never get past the default configurations. This guide walks you through the environment, the preparation, the execution, and the verification, so you can make changes with confidence instead of guesswork.
Table of Contents
- Understanding your hosting environment and control panel
- Preparing to change PHP versions and settings safely
- Executing hosting settings changes in common control panels
- Verifying your hosting settings changes and troubleshooting common issues
- The expert’s perspective: Why many hosting setting tutorials miss key operational nuances
- Explore top web hosting options to optimize your site performance
- Frequently asked questions
Key Takeaways
| Point | Details |
|---|---|
| Identify your hosting panel | Knowing your control panel type helps you follow the correct configuration process for your environment. |
| Backup first | Always create backups before making PHP version or settings changes to avoid data loss. |
| Restart PHP container | In container-based panels, restarting PHP is crucial for new directives to activate properly. |
| Verify changes | Use phpinfo files or dashboards to confirm your PHP settings changes are active. |
| Avoid Cloudflare proxy on SSL TXT records | Keep SSL validation DNS TXT records DNS-only to prevent validation failures. |
Understanding your hosting environment and control panel
Before you touch a single setting, you need to know what type of hosting account you have. This is not a minor detail. As this hosting configuration tutorial explains, the method to change PHP settings depends on the type of hosting account and control panel you are using. Getting this wrong from the start means following the wrong steps entirely.
Here are the most common setups you will encounter:
- Hosting.com Hosting Panel: A proprietary interface used on hosting.com shared and managed plans, with its own PHP editor and container management tools.
- cPanel: One of the most widely used control panels in web hosting, offering tools like MultiPHP INI Editor and File Manager for configuration.
- Plesk: Common on Windows-based hosting and some Linux servers, with a slightly different layout but similar functionality to cPanel.
- Managed VPS or Dedicated servers: These often require changes through configuration files directly or by submitting a support ticket to your provider.
Knowing which panel you are in changes everything about your next steps. If you are unsure, check your welcome email from your hosting provider. It will name the panel and give you the login URL.
Here is a quick reference for how panel type affects your options:
| Hosting type | Control panel | PHP settings access | Restart required? |
|---|---|---|---|
| Shared hosting | cPanel | MultiPHP INI Editor | No |
| Shared hosting | Hosting Panel | PHP ini editor | Yes |
| Managed WordPress | Hosting Panel | Limited, ticket-based | Varies |
| VPS / Dedicated | Direct file access | php.ini config file | Yes |
| Reseller hosting | cPanel or Plesk | Per-domain settings | No |
If you are comparing cPanel vs. Plesk and trying to decide which is better for your needs, the answer usually comes down to your hosting provider’s default offering and your comfort with each interface. Both are capable. Neither is dramatically harder than the other. If you are torn between the two and want to see how they stack up in features, pricing, and operating systems, check our deep-dive analysis: cPanel or Plesk: Which Control Panel Fits Your Needs Best?
Now that you understand your hosting environment, let’s prepare to adjust your PHP version and settings.

Preparing to change PHP versions and settings safely
Adjusting hosting settings without preparation is how things break quietly. You make a change, the site goes down, and you have no clean version to restore. Good preparation takes ten minutes and saves hours.
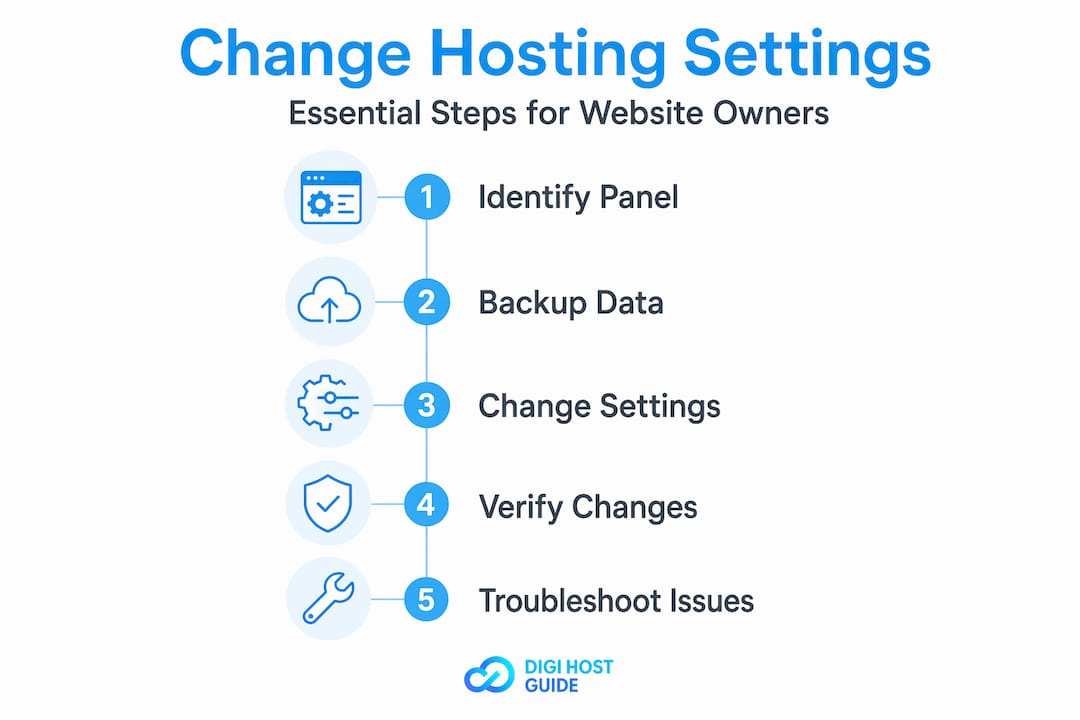
Before making any changes, work through this checklist:
- Back up your website files and database. Use your control panel’s backup tool, a plugin if you are on WordPress, or your host’s automated backup feature. If something goes wrong after a PHP version change, you need to be able to roll back fast.
- Identify your environment’s change method. As covered above, some environments let you edit settings directly through a GUI (graphical user interface, meaning a visual editor you click through). Others require a support ticket. Know which you are dealing with before you start.
- Check for known compatibility issues. If you are running WordPress or another CMS, check that your plugins and theme are compatible with the PHP version you plan to move to. PHP 8.1 and 8.2 have stricter code requirements than older versions.
- Schedule changes at low-traffic hours. Even on shared hosting, brief interruptions can happen. Doing this at 2 a.m. instead of 2 p.m. on a Tuesday limits the impact.
One particularly important thing to know: changing the PHP version on managed VPS or dedicated servers may cause 15 to 20 minutes of downtime while the new version compiles. That is not a glitch. That is expected behavior. If you are on a VPS and your site goes down briefly after a PHP version change, wait it out before panicking.
Pro Tip: If your host offers a staging environment (a copy of your site for testing), make your PHP changes there first. Once you confirm everything runs cleanly on staging, apply the same changes to your live site. A WordPress hosting setup guide can help you understand how staging fits into a typical WordPress workflow.
With preparations complete, you can begin executing changes using the right tools and steps.
Executing hosting settings changes in common control panels
This is where the actual work happens. The steps vary depending on your panel, so find your environment below and follow through.
Option 1: Hosting.com Hosting Panel
- Log in to your hosting.com account and open the Hosting Panel for your domain.
- Navigate to the PHP settings or configuration section.
- Open the php.ini editor and locate the directive you want to change, such as
memory_limitorupload_max_filesize. - Edit the value and save.
- After editing php.ini directives, you must restart the PHP container for changes to take effect. Look for a “Restart” button in the panel interface.
- Once restarted, test your site to confirm it loads correctly.
Option 2: MultiPHP INI Editor in cPanel
- Log in to cPanel and search for “MultiPHP INI Editor” in the search bar.
- Choose whether you want to apply settings to your home directory or a specific domain.
- Select a directive from the list and update its value.
- Click Apply. The MultiPHP INI Editor allows immediate application of PHP settings per domain or home directory, with no server restart needed.
- Verify the change is active (see the next section for how to do this).
Option 3: Custom php.ini file via File Manager in cPanel
- Open File Manager in cPanel and navigate to the directory you want to affect.
- Create a new file named
php.iniin that folder. - Add your desired PHP directives, for example:
memory_limit = 256M - Save the file.
- Note that custom php.ini files affect only the directory they are placed in unless connected through an .htaccess rule. They must also be verified with a phpinfo file.
- If you need the settings to apply to subdirectories, add an
.htaccessfile withsuPHP_ConfigPathpointing to your custom ini path.
For a full overview of how cPanel handles configuration, the cPanel configuration guide is a reliable reference. And before you go further, it is worth reviewing common hosting mistakes so you can sidestep the problems that catch most beginners off guard.
Here is a comparison of the three methods to help you pick the right one:
| Method | Panel | Scope affected | Restart needed | Best for |
|---|---|---|---|---|
| Hosting Panel php.ini editor | Hosting Panel | Entire PHP container | Yes | Managed hosting accounts |
| MultiPHP INI Editor | cPanel | Domain or home directory | No | Quick per-domain adjustments |
| Custom php.ini file | cPanel | Single directory only | No | Directory-specific overrides |
Pro Tip: Always verify changes with a phpinfo file (covered in the next section). Settings can appear saved in the panel but fail to activate silently, especially if a container restart was skipped.
After making your hosting changes, follow these verification methods to ensure everything is working as expected.
Verifying your hosting settings changes and troubleshooting common issues
You have made your changes. Now confirm they actually did something. This step is skipped more than it should be, and it is the reason people end up confused when their settings “don’t work.”
How to create a phpinfo file:
- In File Manager or via FTP, create a file named
phpinfo.phpin your site’s root directory. - Add this single line:
<?php phpinfo(); ?> - Open your browser and visit
yourdomain.com/phpinfo.php - Search the page for the directive you changed (e.g.,
memory_limit) and confirm the new value is showing under “Local Value.” - Delete the file immediately after checking. This file exposes sensitive server information and should never stay live.
Beyond phpinfo, keep these common pitfalls in mind:
- Forgot to restart the PHP container: Beginners often forget to restart the PHP container after editing php.ini directives in Hosting Panel, which means settings simply do not apply. If your phpinfo still shows the old values, go back and restart the container.
- Cloudflare proxy on TXT records: If you are setting up SSL certificates and using Cloudflare for DNS, be careful. Do not enable proxying on TXT records meant for SSL validation. Proxied TXT records cannot be read by the hosting provider’s certificate system, which causes validation to fail. Set those records to DNS-only (the gray cloud in Cloudflare, not the orange one). For a deeper look at handling SSL on WordPress, this WordPress SSL installation resource covers the process clearly.
- Custom php.ini not applying to subdirectories: If your php.ini is in the root but you expected it to affect a subfolder, it will not unless you explicitly configure that.
Common pitfall: The two mistakes that cause the most “settings not working” frustration are skipping the PHP container restart in Hosting Panel and accidentally enabling Cloudflare proxy on DNS records used for SSL verification. Check both of these before spending an hour troubleshooting anything else.
Pro Tip: Document every change you make and when you made it. A simple text file or spreadsheet with the date, what you changed, and the old versus new value takes two minutes to maintain and saves enormous time when something breaks later.
Beyond verification, let’s explore a perspective on managing hosting settings that beginners often miss.
The expert’s perspective: Why many hosting setting tutorials miss key operational nuances
Most hosting guides tell you what to click. Fewer explain why those clicks behave differently depending on the architecture underneath — and that is exactly what a high-quality manage hosting settings tutorial should address. After working through dozens of hosting configurations, the biggest time loss comes from the assumption that “saved” means “active.”
Here is the reality: pressing Apply or Save in a GUI tool records your intended change. Whether that change is live depends on what happens next. In cPanel’s MultiPHP INI Editor, the change is immediately applied at the domain level because cPanel uses a different PHP execution model. In Hosting Panel’s container-based setup, nothing happens until you restart the container. Same action. Completely different result. If you do not know which model your host uses, you will keep editing settings that quietly go nowhere.
The second thing most tutorials skip is directory scoping. When you create a custom php.ini file, it affects only its own directory. This is actually useful, not just a limitation. You can set one memory_limit for your main site and a different, higher one for an image-processing folder without affecting the rest of your site. This kind of fine-grained control is worth knowing about, even if you do not need it immediately.
DNS propagation delays are also rarely explained well in hosting setting guides. When you update a DNS TXT record for SSL validation, that record has to propagate globally before your certificate authority can read it. This can take anywhere from a few minutes to 24 hours. Triggering SSL validation too quickly after a DNS change is a common reason certificate requests fail, and most beginners assume the error is something they configured wrong. It often is not. It is a timing issue.
Hard-won lesson: Never assume a setting is active just because the panel shows no error. Test it. Create the phpinfo file, check the actual server value, then delete the file. This habit alone will prevent most “why isn’t this working” situations. Verifying activation through testing, not assumption, is how professionals manage hosting settings.
If you want to go deeper on what separates well-managed hosting from poorly configured setups, reviewing hosting mistakes to avoid will give you a clear picture of where things go wrong at the account level.
Explore top web hosting options to optimize your site performance
Understanding how to manage hosting settings is only half the equation. The other half is choosing a hosting provider whose control panel, support team, and infrastructure actually support the level of control you need. Not all shared hosts expose the same PHP settings. Not all managed plans give you direct access to php.ini at all.
At Digi Host Guide, we publish detailed hosting provider reviews that evaluate key takeaways and drawbacks so you know what you are getting before you sign up. The Digi Host Guide homepage is your starting point for comparing options and finding a host that gives you the tools to manage your site with confidence.
Frequently asked questions
How do I know which hosting control panel I have?
Check your welcome email from your hosting provider or log in to your account dashboard. The panel URL and interface design will typically identify it, whether it is the hosting.com Hosting Panel, cPanel, or Plesk.
Why won’t my PHP setting changes take effect immediately?
In container-based hosting environments, you must restart the PHP container after editing php.ini directives. Without that restart, settings don’t activate, even if the panel shows them as saved.
How long does DNS propagation take when updating hosting DNS records?
DNS changes can take up to 24 hours to propagate globally, though many updates resolve within minutes to a few hours depending on your TTL settings and DNS provider.
What is the risk of enabling Cloudflare proxy on SSL verification TXT records?
Enabling the proxy on those records blocks your hosting provider’s certificate authority from reading them, causing SSL validation to fail. TXT records used for SSL verification must be set to DNS-only in Cloudflare, not proxied.

